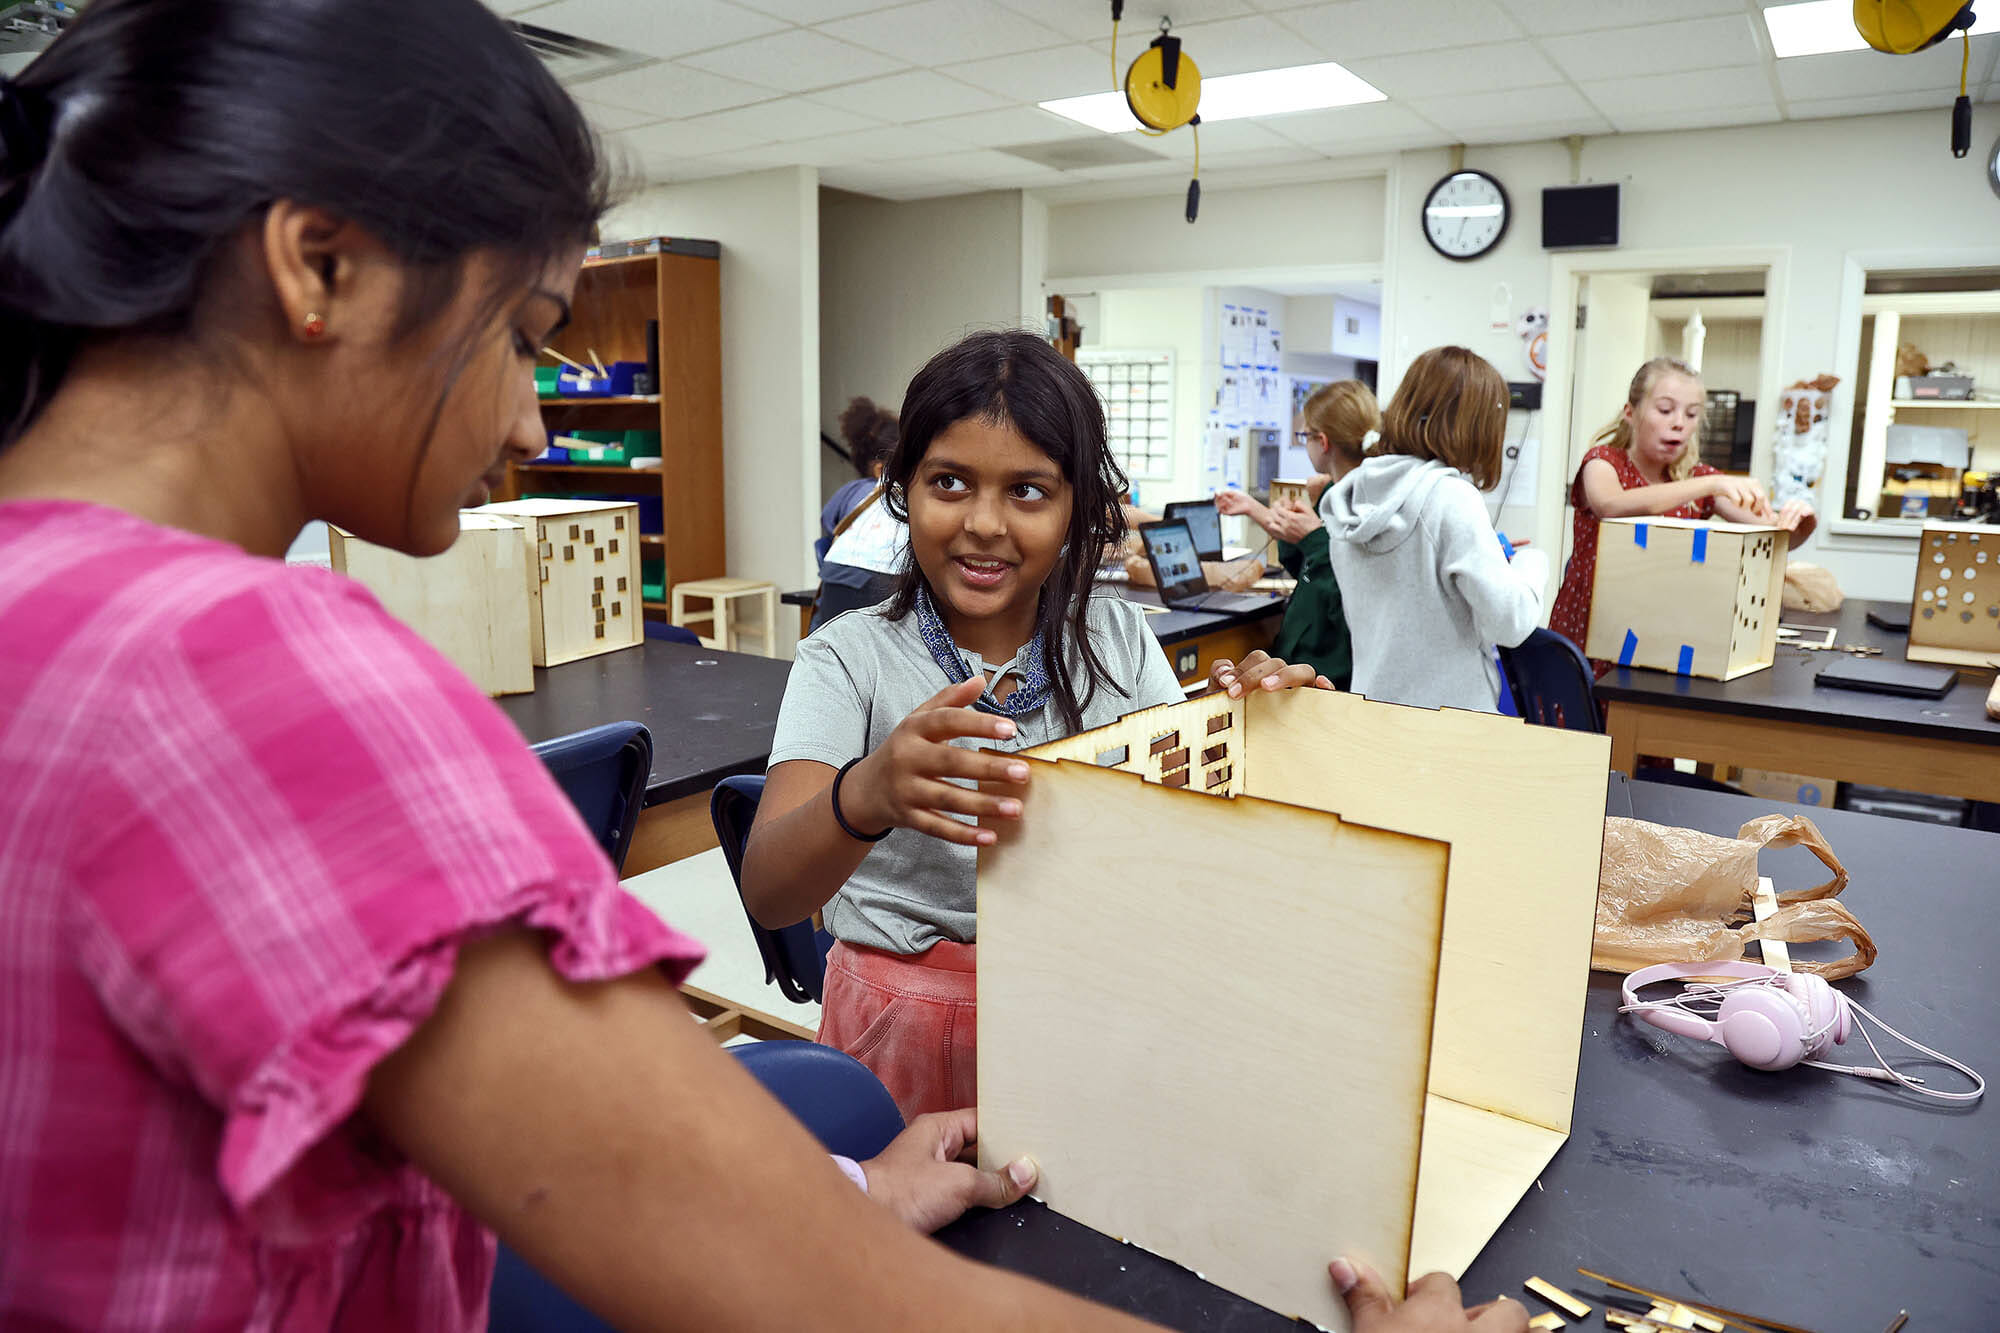
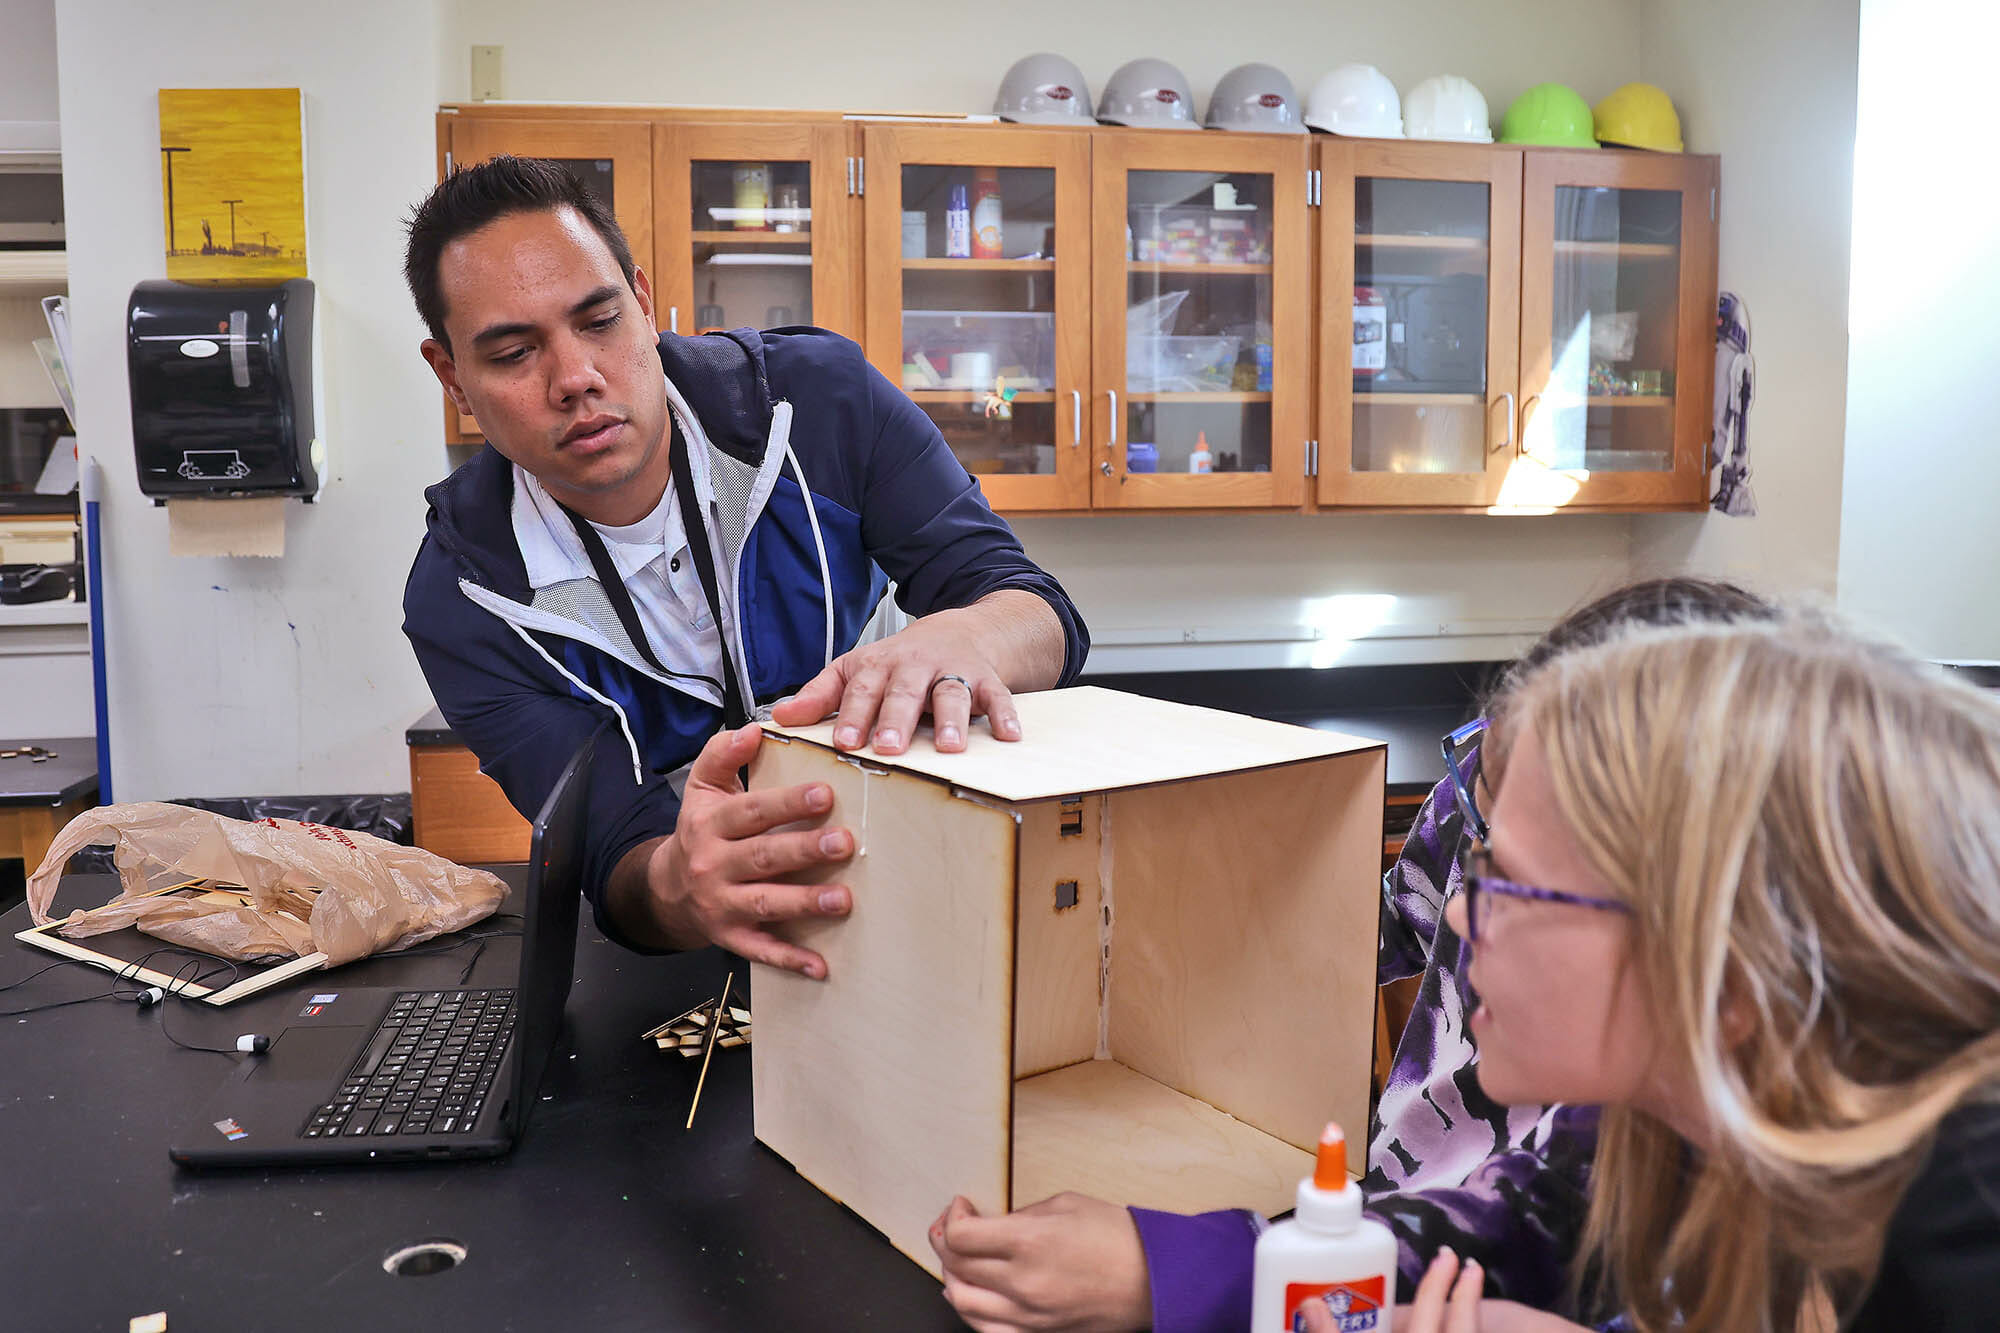
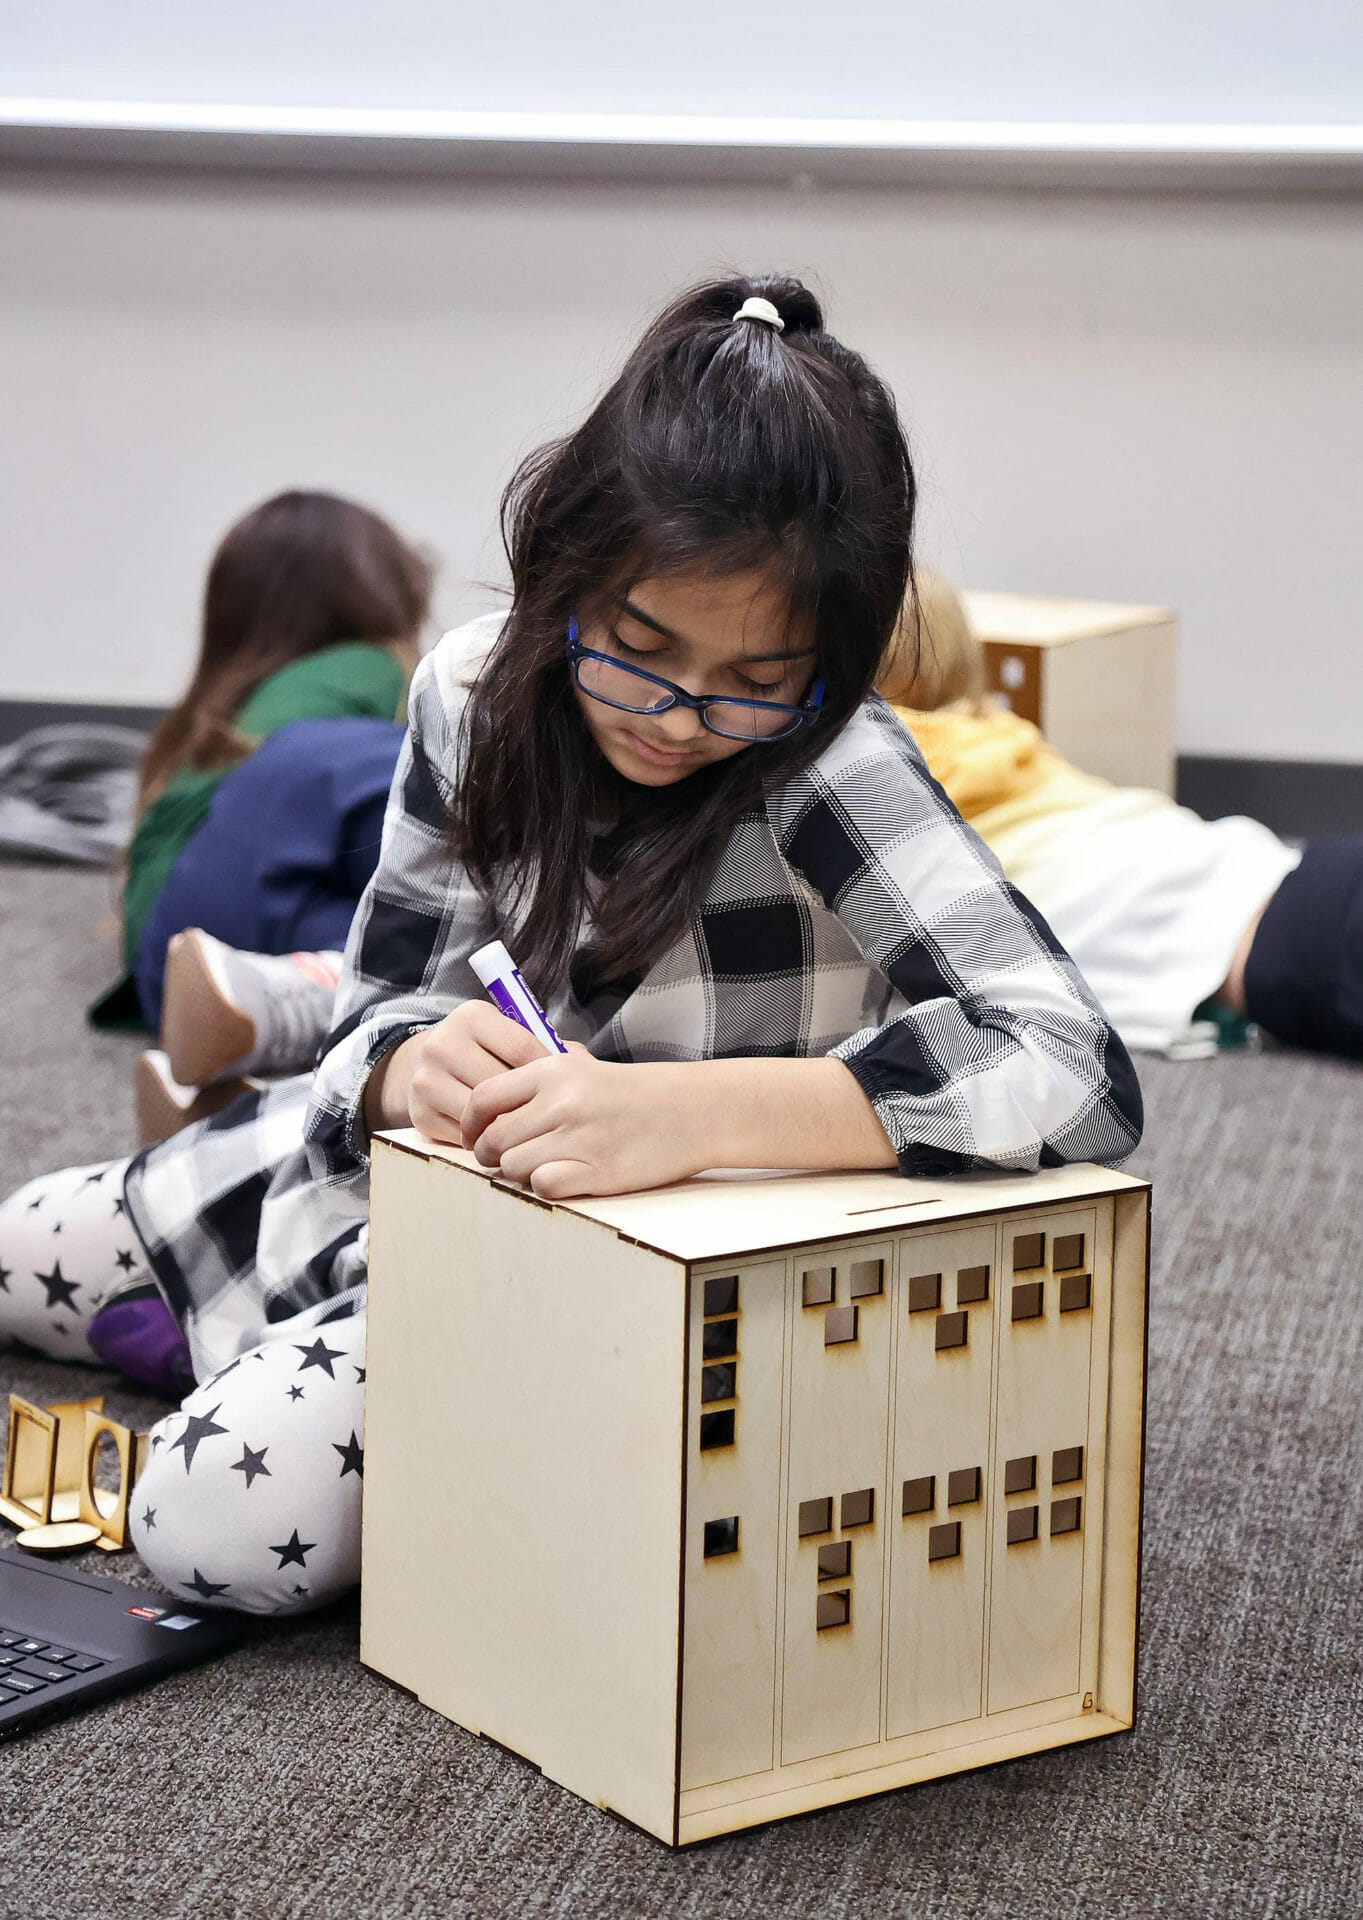
What’s a compelling way to bring math to life in fifth grade? Middle School Math Teacher Dustin Delfin challenged his students to design their own loft spaces. The real-world exploration asks students to connect what they’re learning in class to this creative project. Working in pairs, the students tackle their loft designs after going over the main lessons and practice for the day. They get to use the information they’ve studied and practice 21st-century learning skills such as creativity, collaboration, and communication.
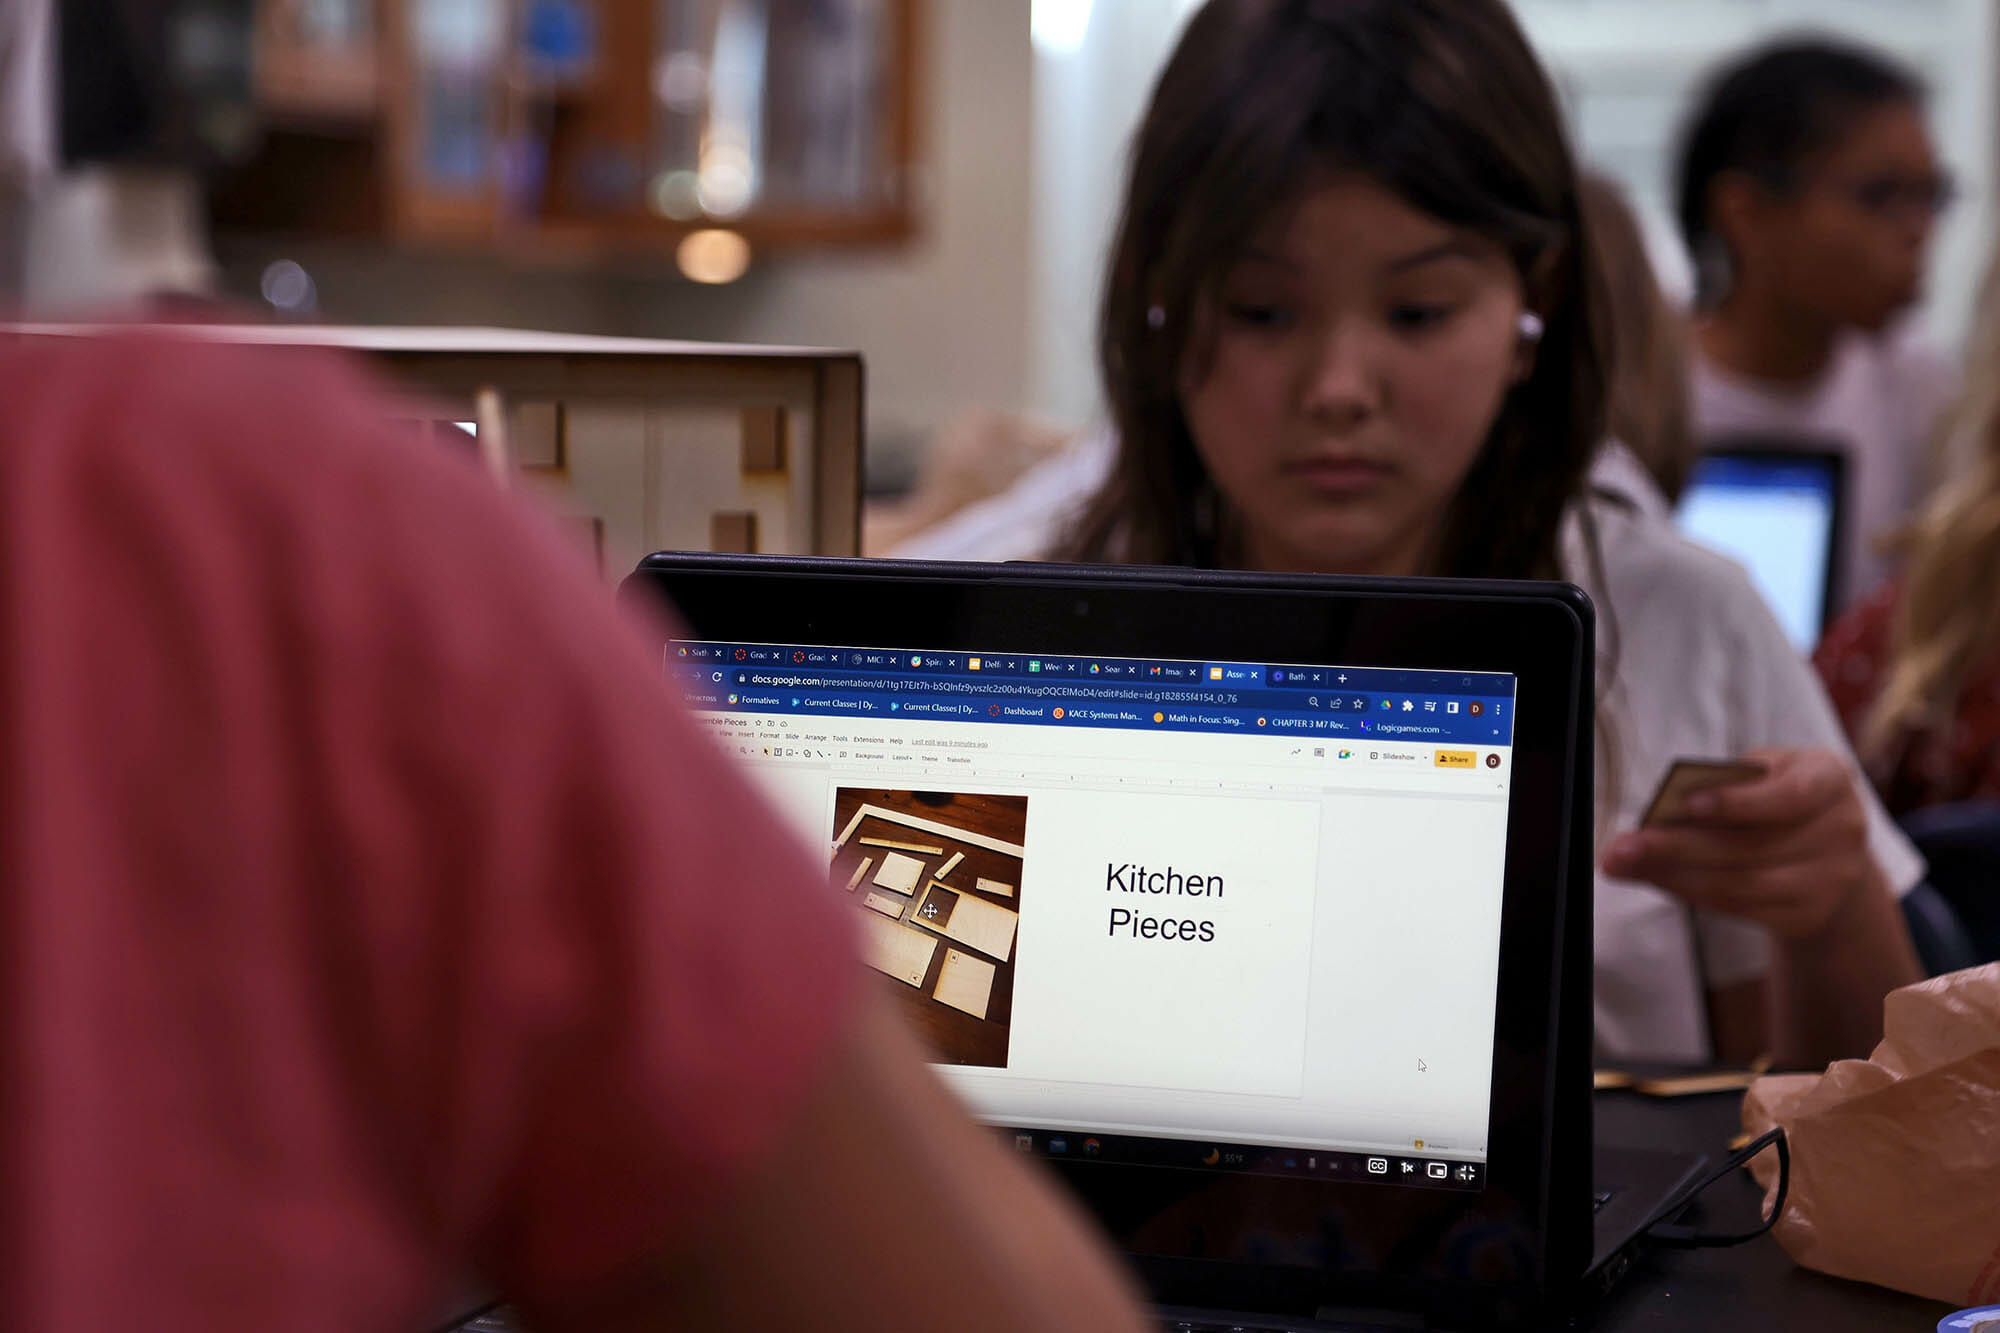
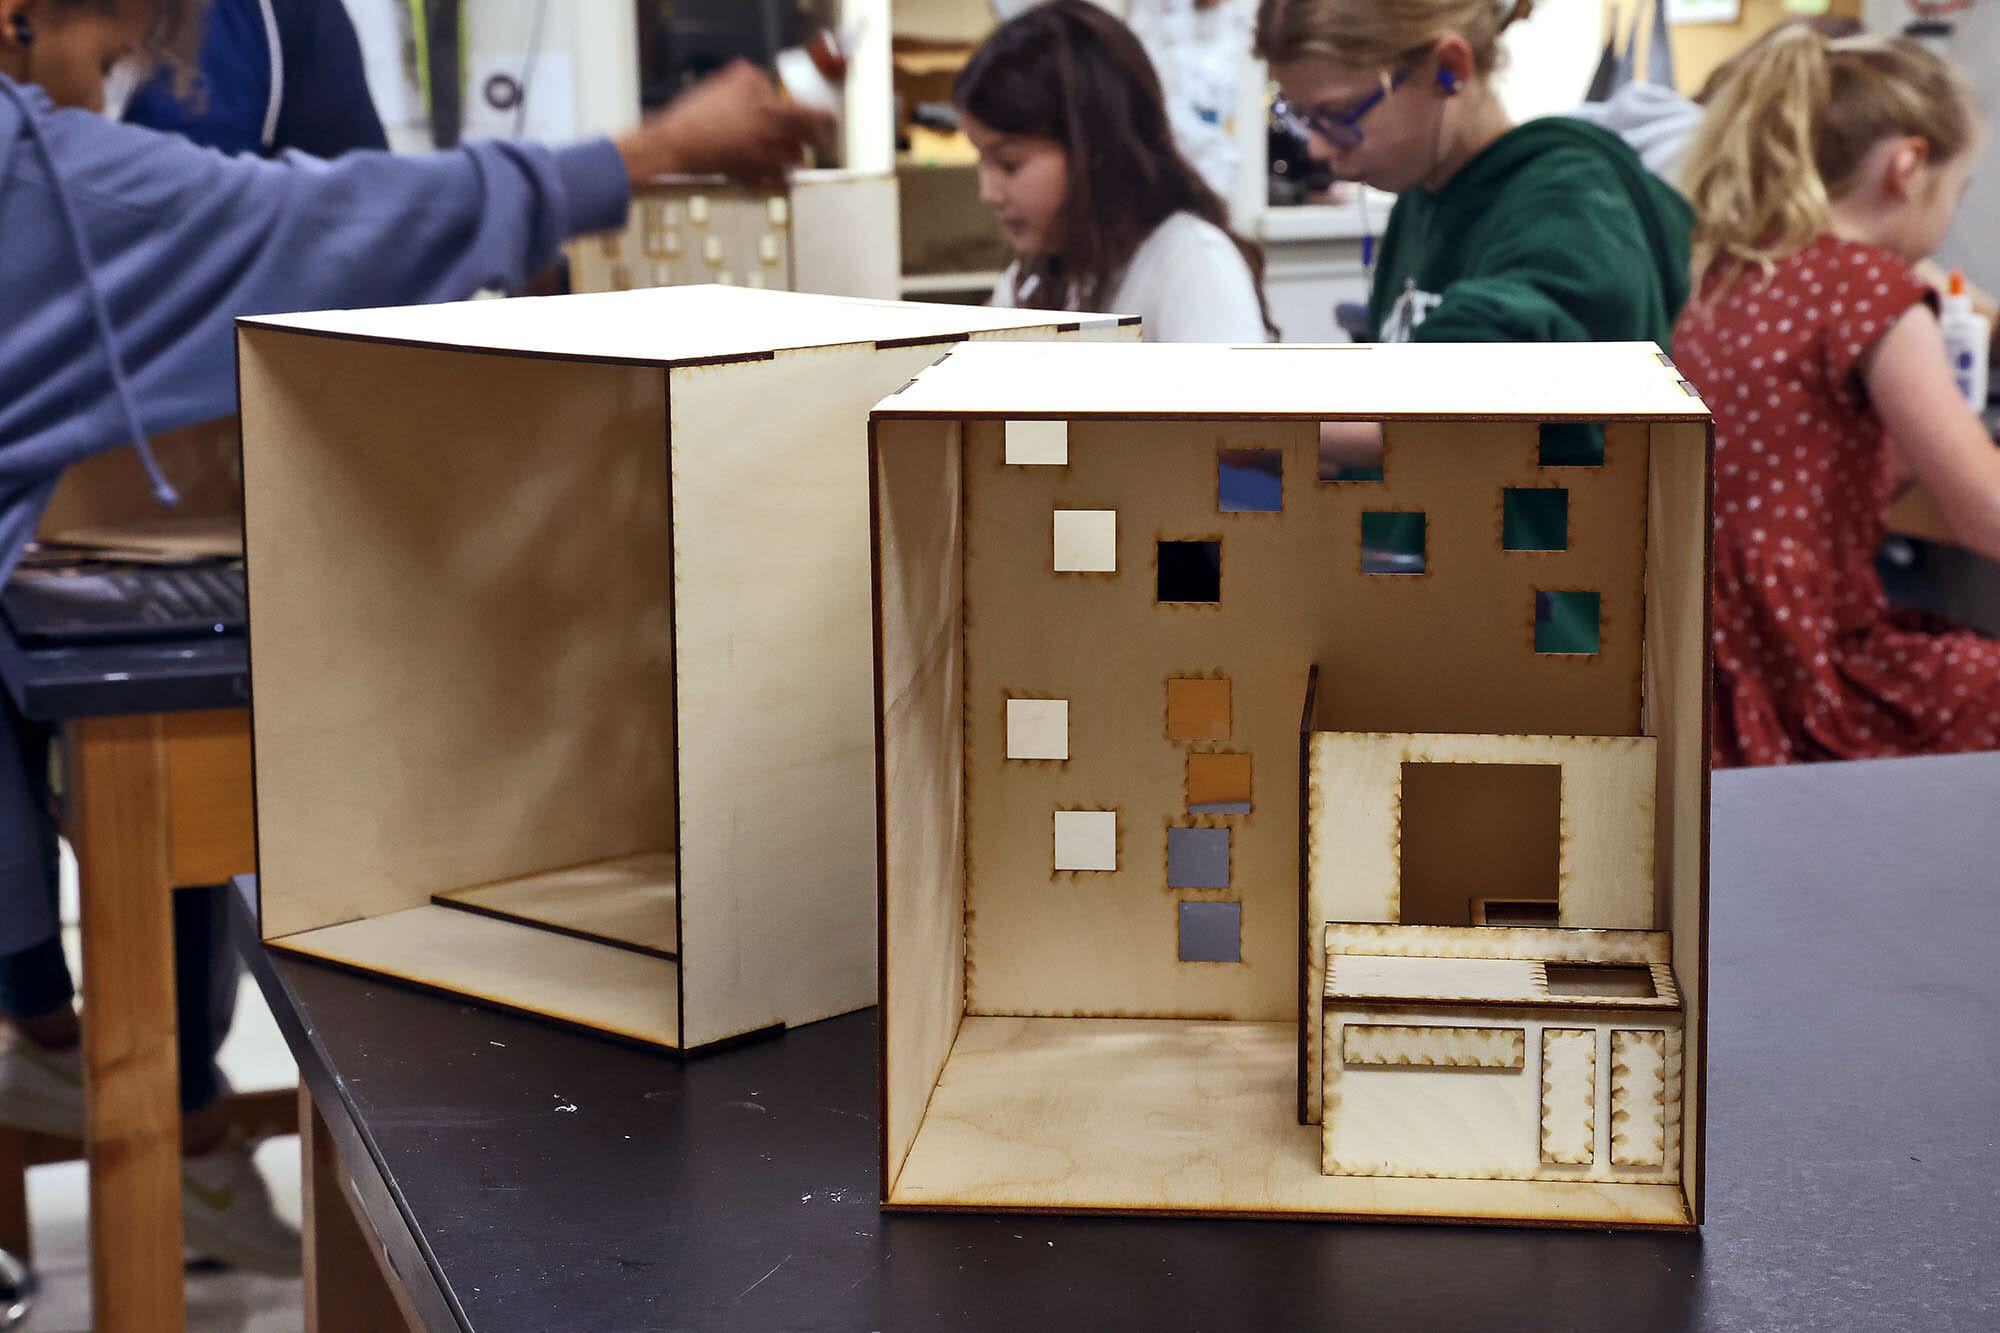
“So far, the project has been broken up into 10 phases,” said Delfin. “As we move into semester 2, we will potentially have additional phases to connect learning and this exploration.” To begin, each loft is made out of an 11″x11″x11″ cube. Students worked at a scale of 1”=1’ and ensured contributions to the loft matched the given scale. As groups moved through each phase, they documented their work in a program called Formative. Phases include designing their building facade, a floor plan layout, buying and shopping for furniture, calculating how much paint is required, designing a loft railing, purchasing flooring, buying decorative items, selecting or creating wall art, and calculating the total cost of their loft. Finally, and perhaps the most fun for these budding architects and builders, they constructed their new loft spaces in the Middle School Makerspace.
Phase 1: Windows
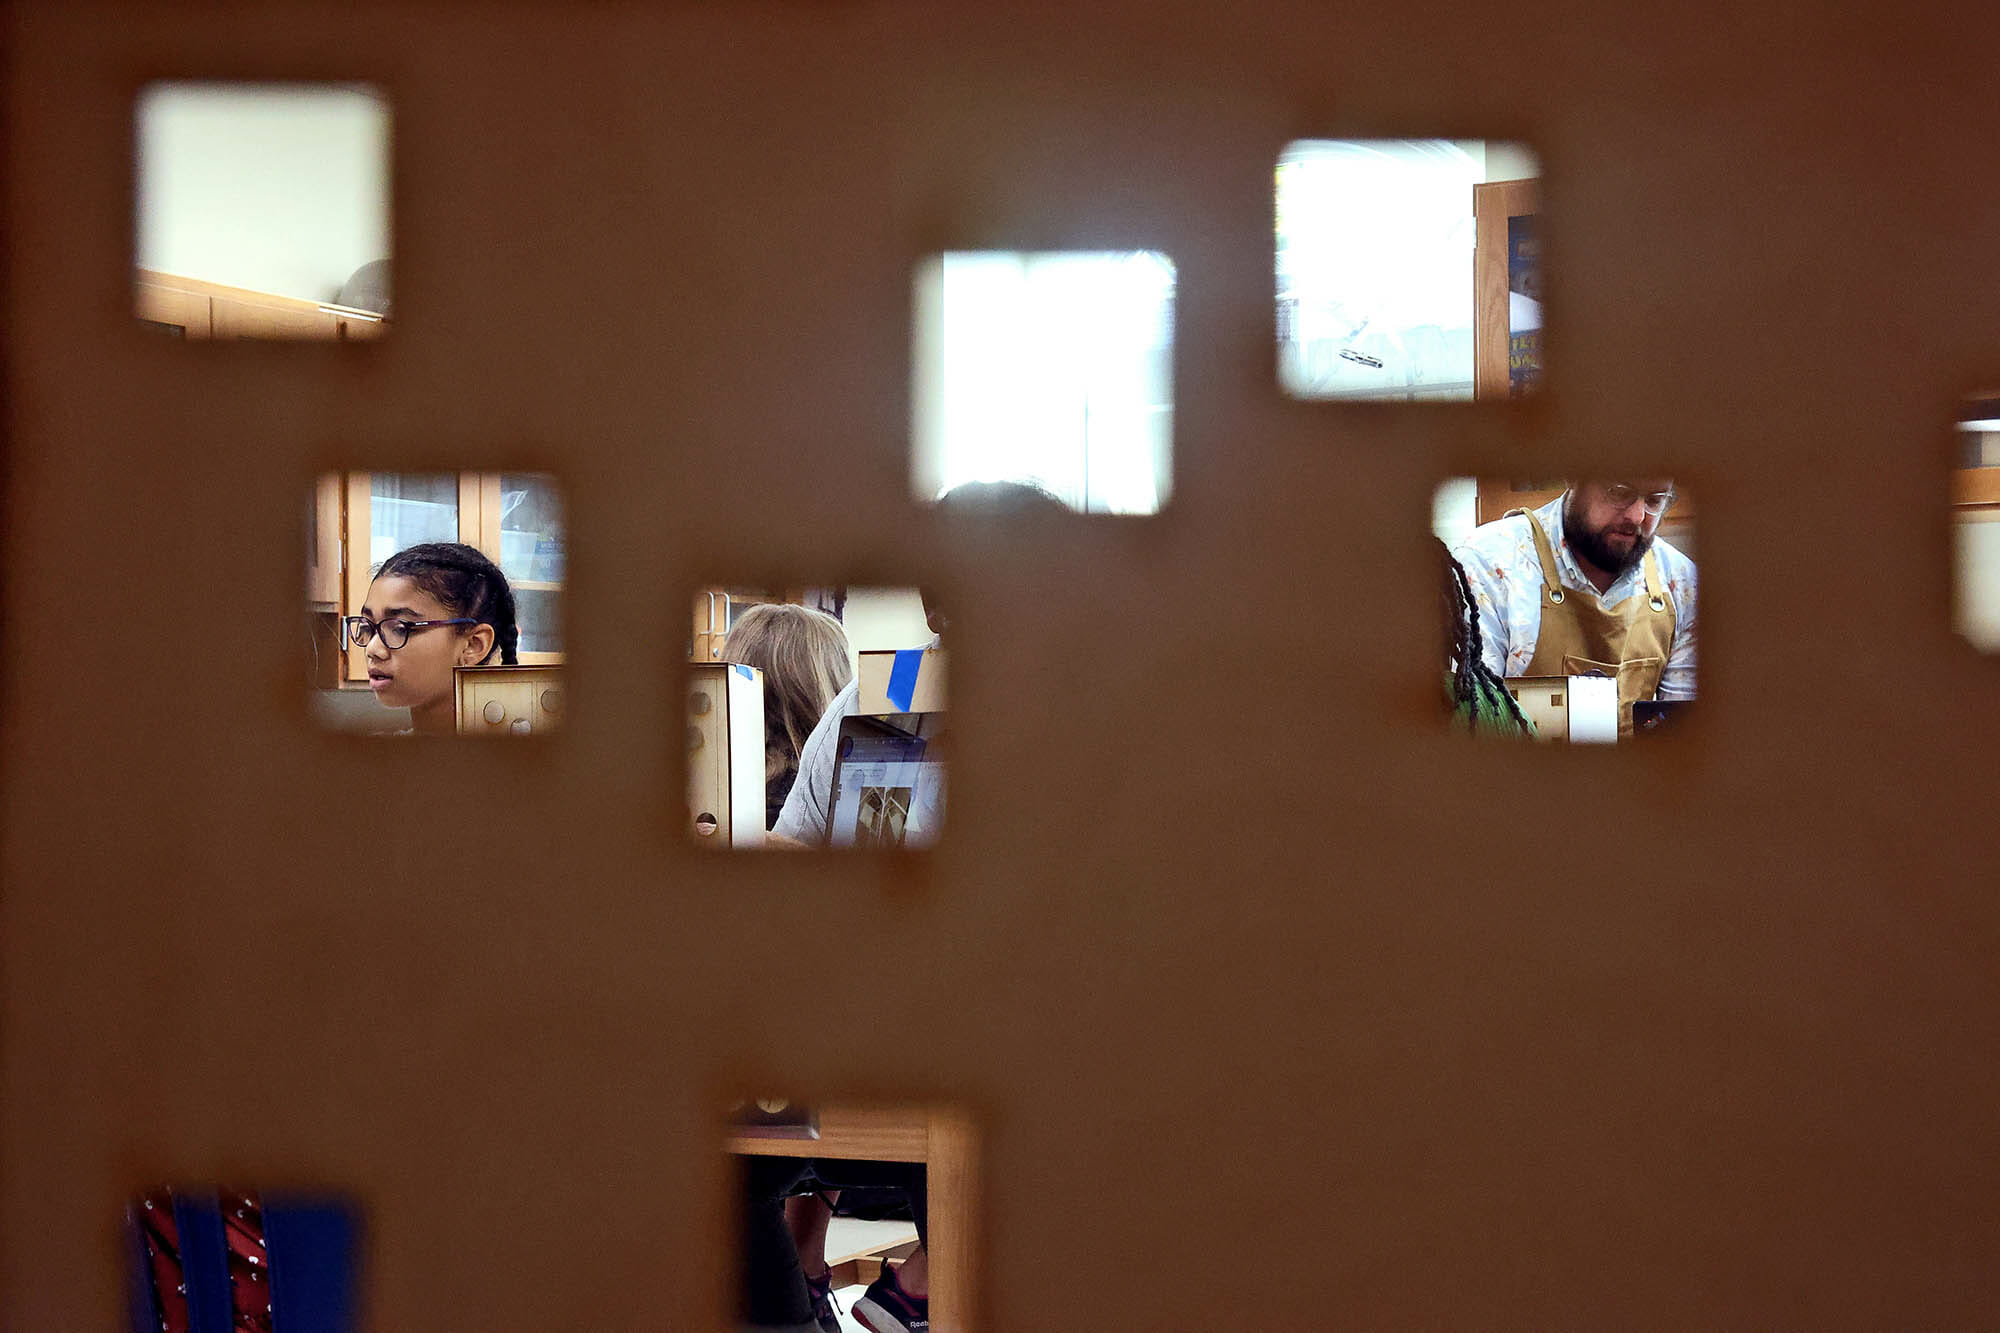
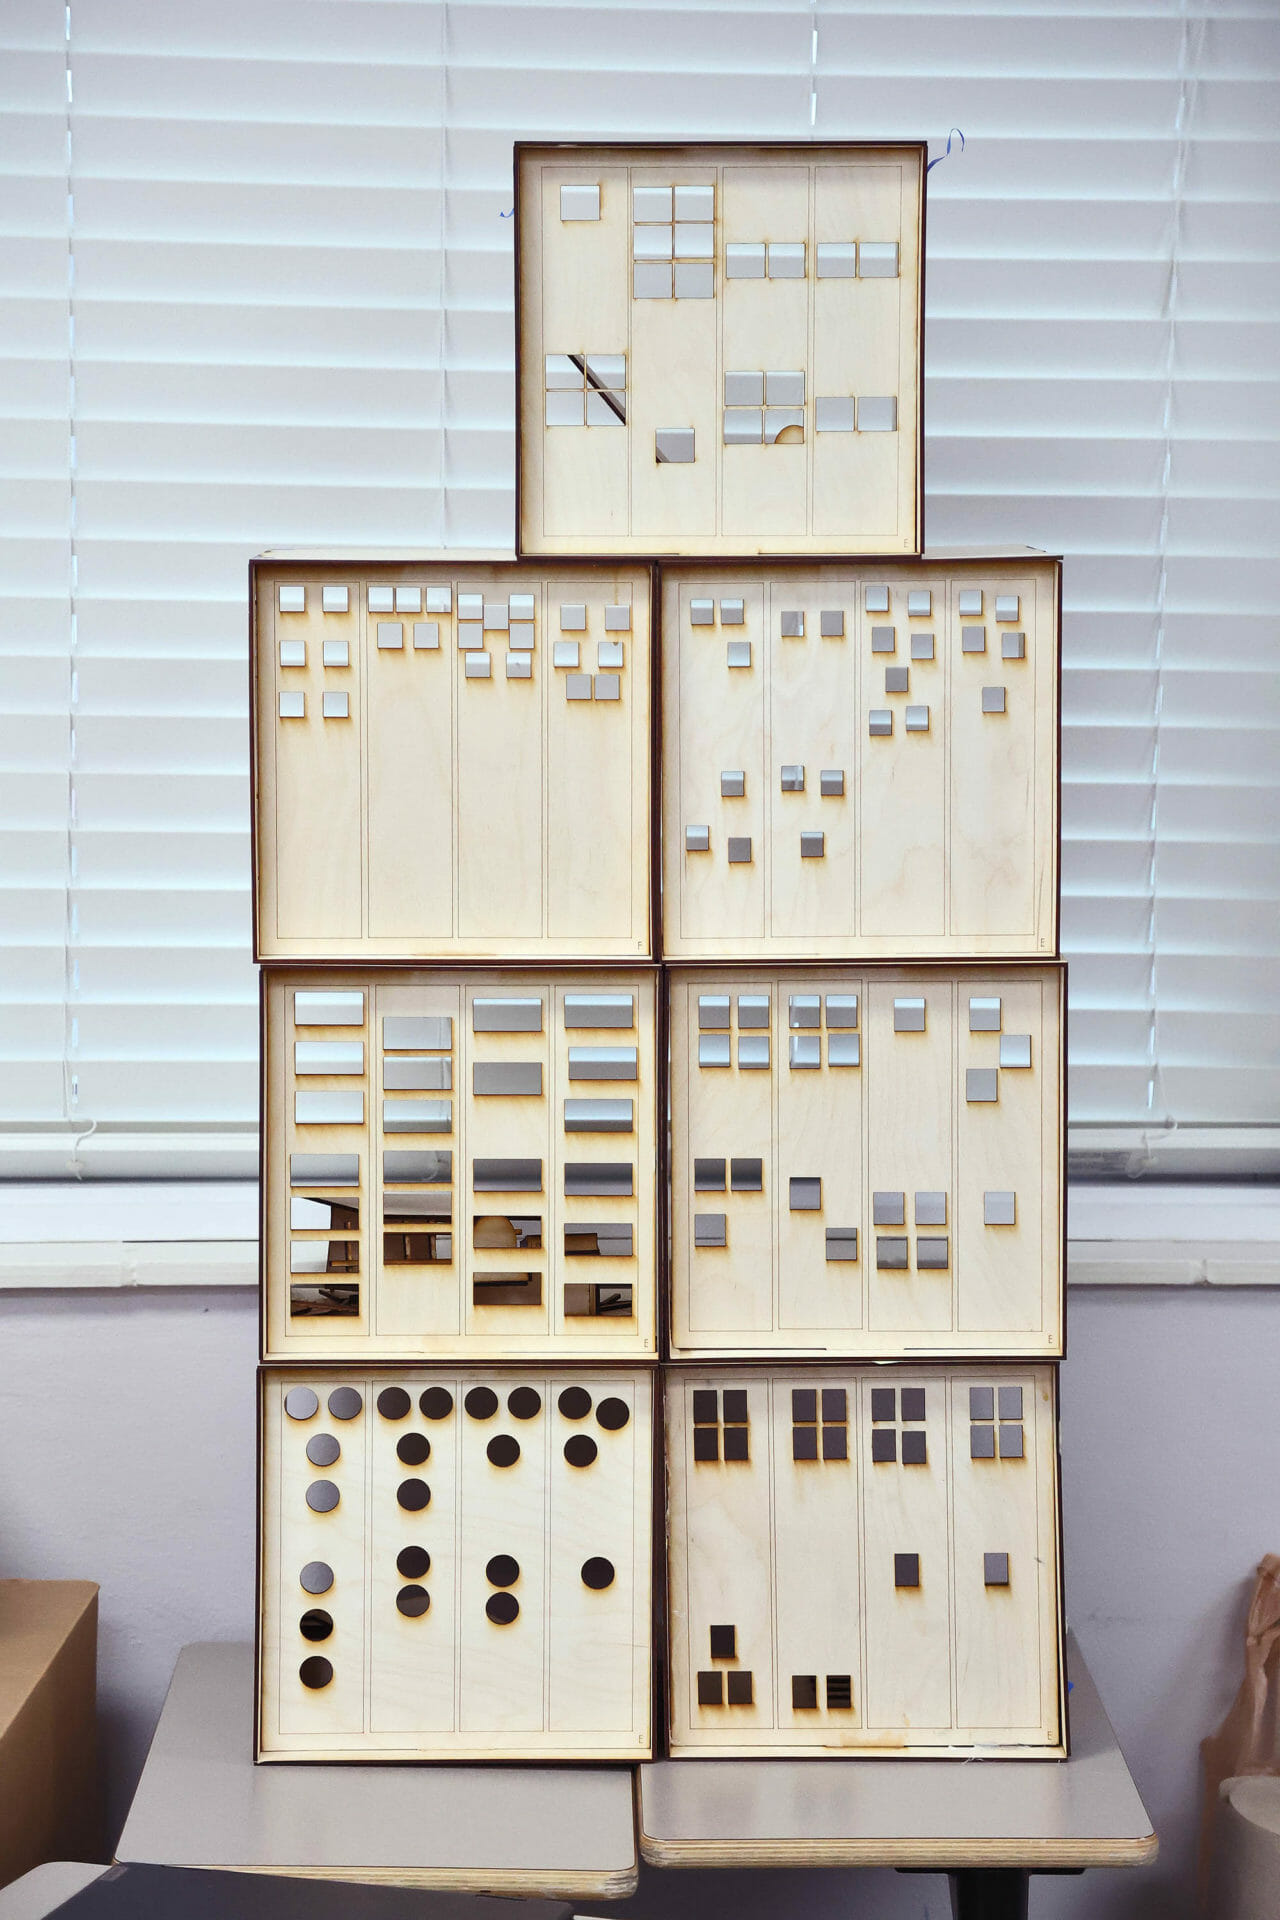
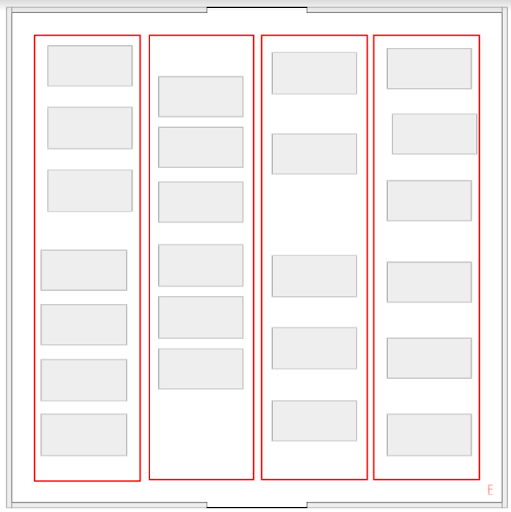
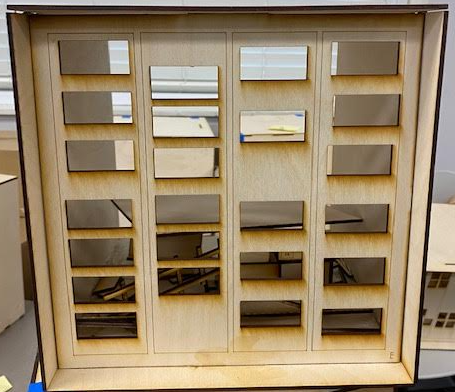
After learning about the place value system, students were given apartment numbers for their lofts and asked to design a window system that mimics the place value systems of ones, tens, hundreds, and thousands. Each window opening represents a digit within the column of each place value. “The idea is to be able to recognize any specific loft by looking at the front facade of the building,” said Delfin. Students created their window designs on Google slides and converted the files to a format suitable for a laser cutter. They sent their files to Middle School Science Teacher Branson Lawrence in the Makerspace, where he uploaded them to the laser cutter.
Phase 2: Floor Plans
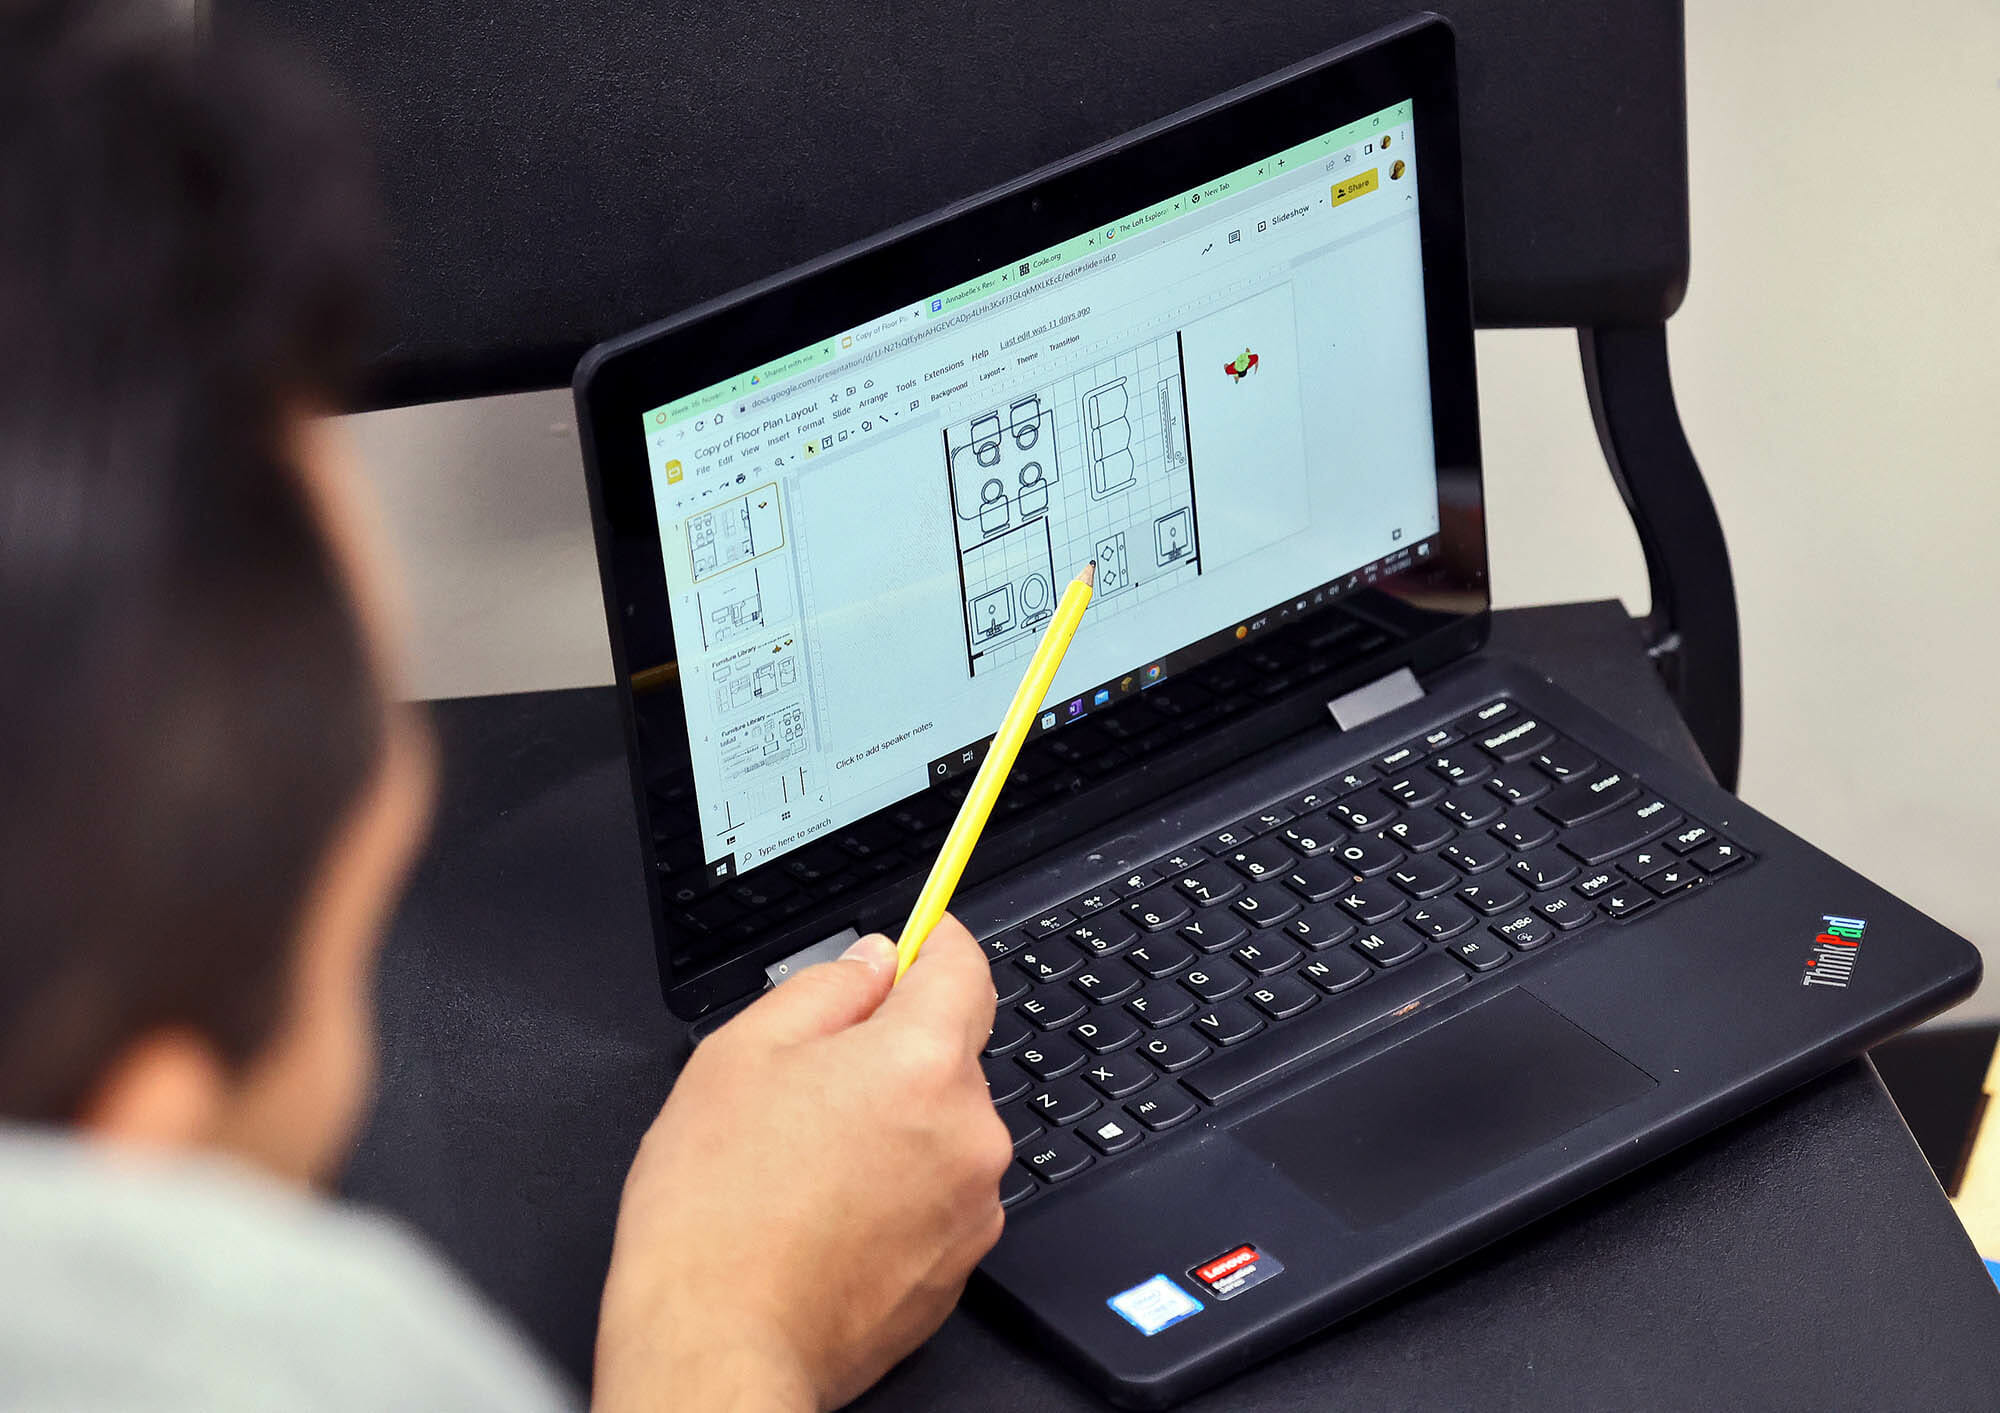
Students then spent time laying out the floor plan of their lofts. This included deciding where to place their kitchen and bathroom fixtures. Students realized that their living space for two (some three) is a really tight fit and they needed to use their critical thinking skills to ensure that their floor plan/furniture layout was functional. The usable space for their lofts are 11” by 10” living areas.
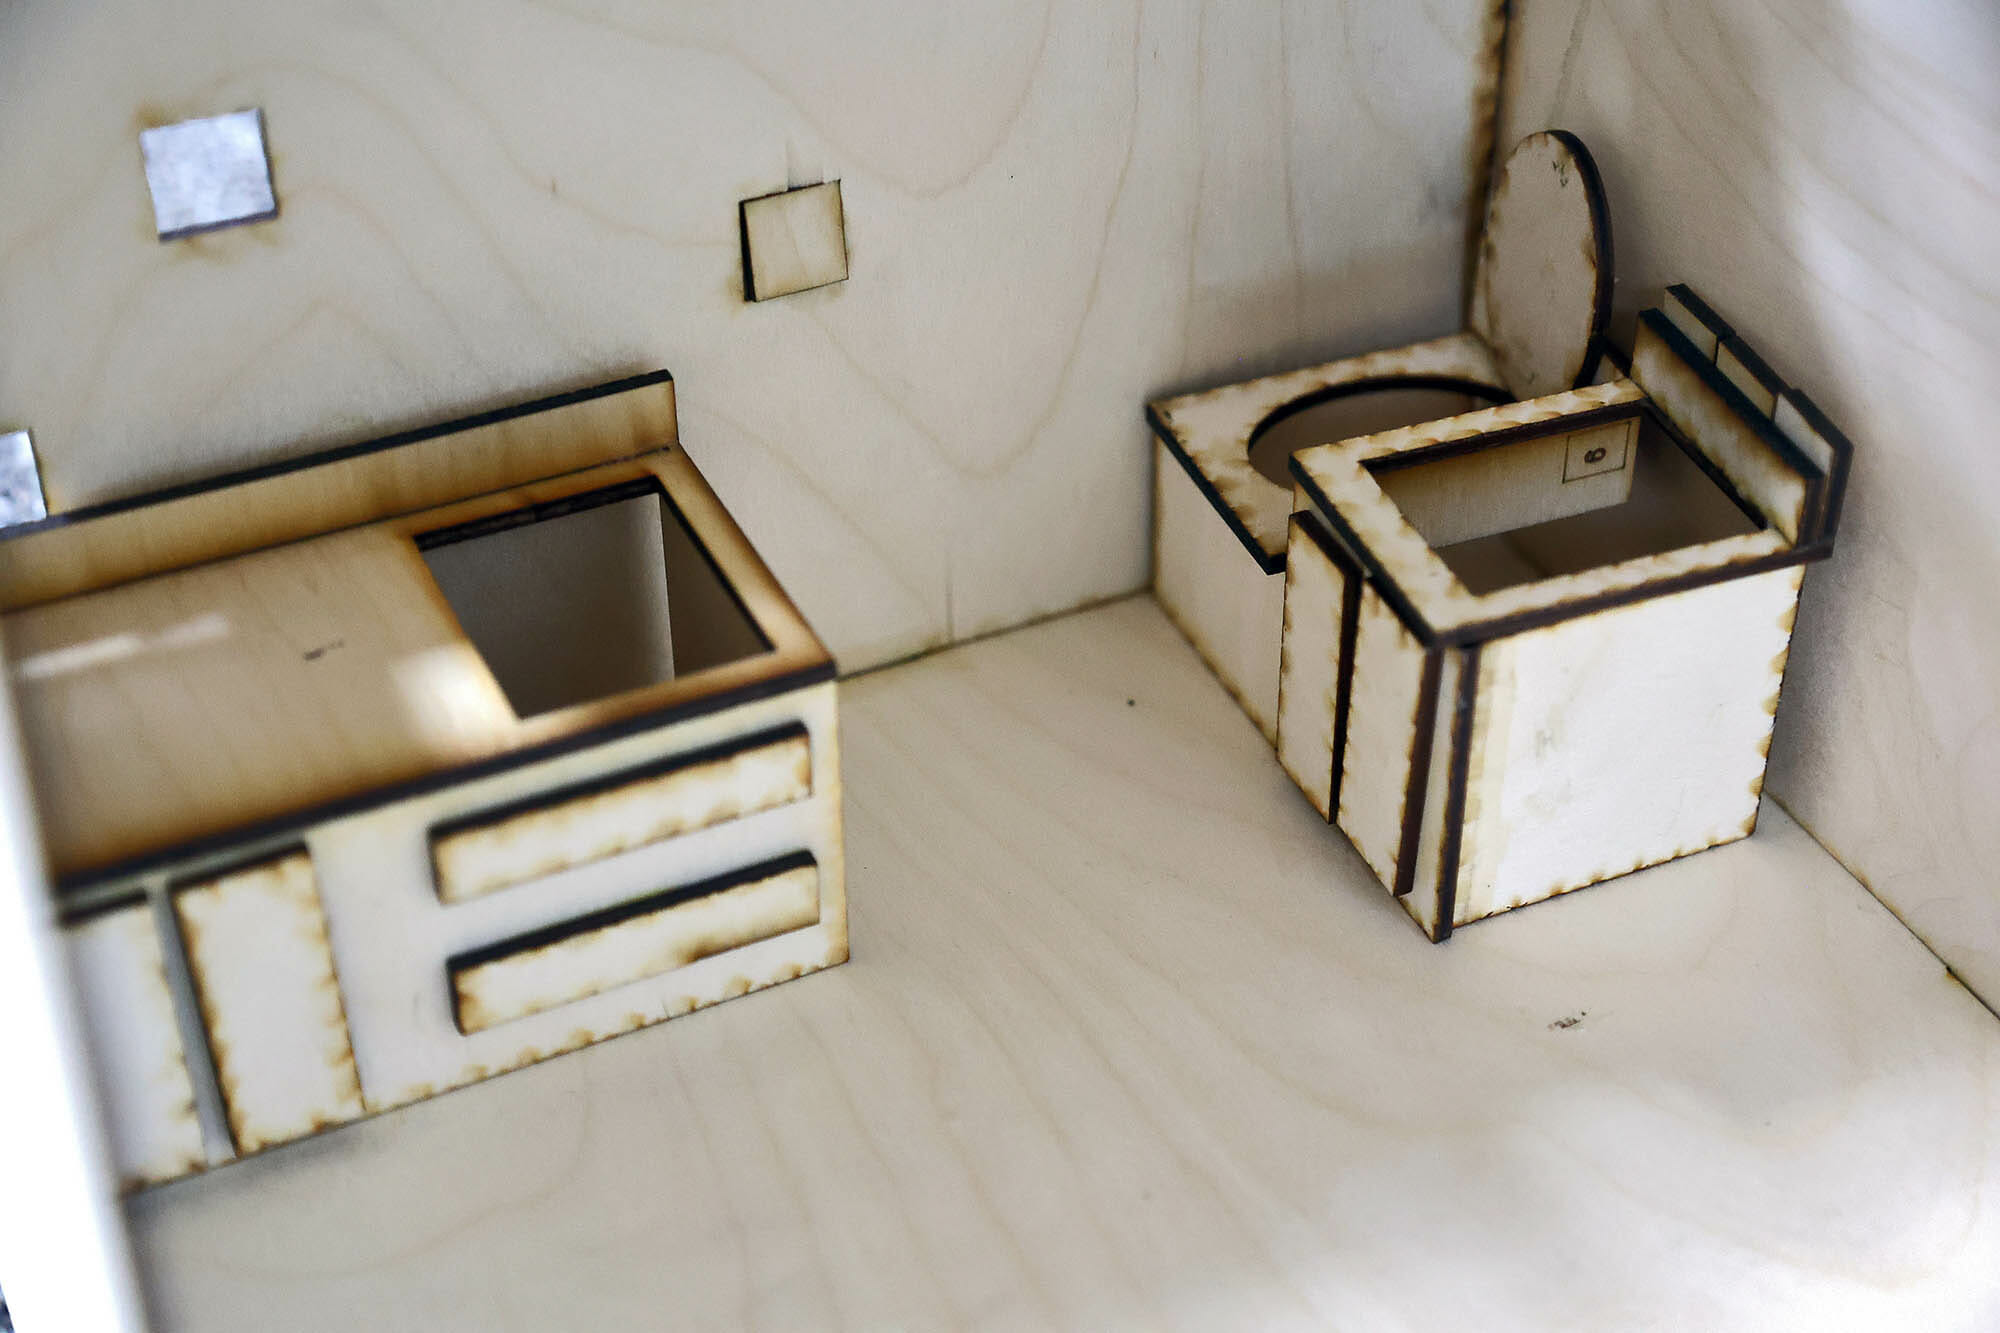
After these two phases, students went to the makerspace to assemble their cube lofts along with their kitchen and restroom fixtures.
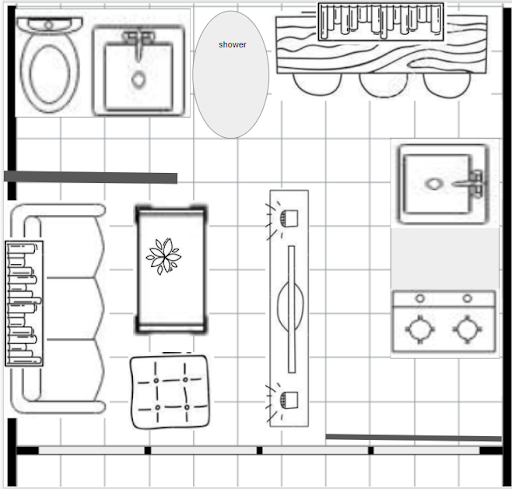
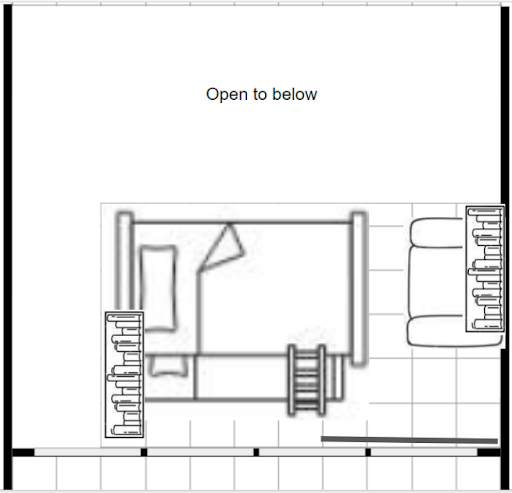
Phase 3: Furniture
During this phase, students shopped online for the large furniture they showed in their Phase 2 space plan, documenting their items along with prices. They then calculated their total furniture cost, which was the beginning of the cost analysis process.
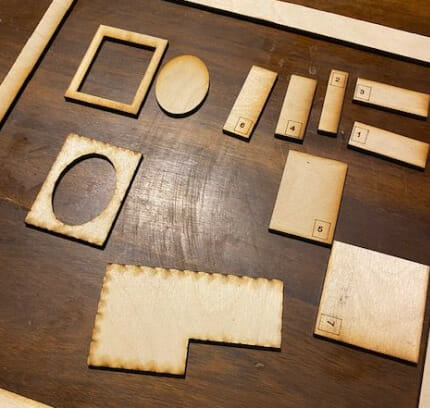
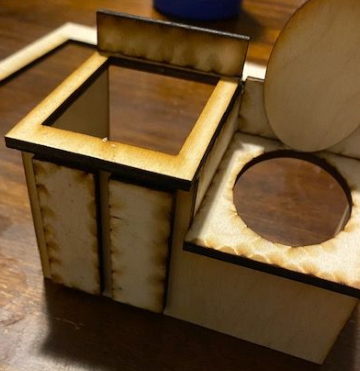
Phase 4: Flooring
After finalizing their layout, it was time to choose flooring options for their lofts. Students were required to select two different types (carpet, hardwood, tile, etc.), and then calculated the entire floor space of the loft, remembering that each square unit equals one square foot. They had to then break down the overall floor space calculation into measurements by flooring type.
Phase 5: Loft Railings
Safety first! An open loft area needs a railing! Now, instead of square footage, students had to calculate linear feet. Sounds easy, right? There are lots of variables to keep in mind, though, including making sure there’s a 2.25′ opening for the ladder, and a gap between the railing and any glass/wall it may touch 2/5 of a foot. The hardware store sells railing in panels for $50.25 each, and each panel is 2-and-3/5 feet long, so students had to calculate how many panels were needed and the total cost.
Phase 6: Paint
It’s time for color! Students had to estimate how much paint would be needed to cover the interior of their lofts. Each wall and the ceiling required a double coat of paint, and students could assume that all paint colors are the same price, although all vendors are not created equal. Delfin offered a series of questions to get students thinking accurately about how to measure wall and ceiling space:
- What is the estimated area of your window facade?
- What is the area of the remaining three walls of your space?
- What is the area of the overall ceiling?
- What is the area of the ceiling created by the loft?
Two vendors were available for students to purchase their paint. Al’s Hardware has a price of $26.50 for one that can cover 50 square feet, while the Home Improvement Center has a price of $30.75 for one that can cover 75 square feet. Students had to determine which vendor they’d use and provide a reason as to why they selected their vendors, along with calculating the minimum number of paint cans needed to paint their lofts.
Phase 7: Decor
A loft needs decorative and personal items to make it a home, so students solved order of operations problems to find a budget to purchase things to liven up their space. Once each team solved each problem, the partners shopped for items that cost that amount of money. Every item the teams purchased was required to be shown in their models.
Phase 8: Art
Those loft walls start to look pretty plain without the addition of wall art. Students created works of art for their lofts using dimensions of 2-and-2/5 feet long by 4-and-3/4 feet wide. Each painting is divided into four different sections, with a different color comprising each section. Students had to use what they knew about area models and multiplication of fractions to figure out how much of each color they needed.
Phase 9: Cost Calculations
Calculate the total cost of the loft design, including furniture, paint, flooring, rails, decorative/personal items, and wall art.
Phase 10: Design/Build!
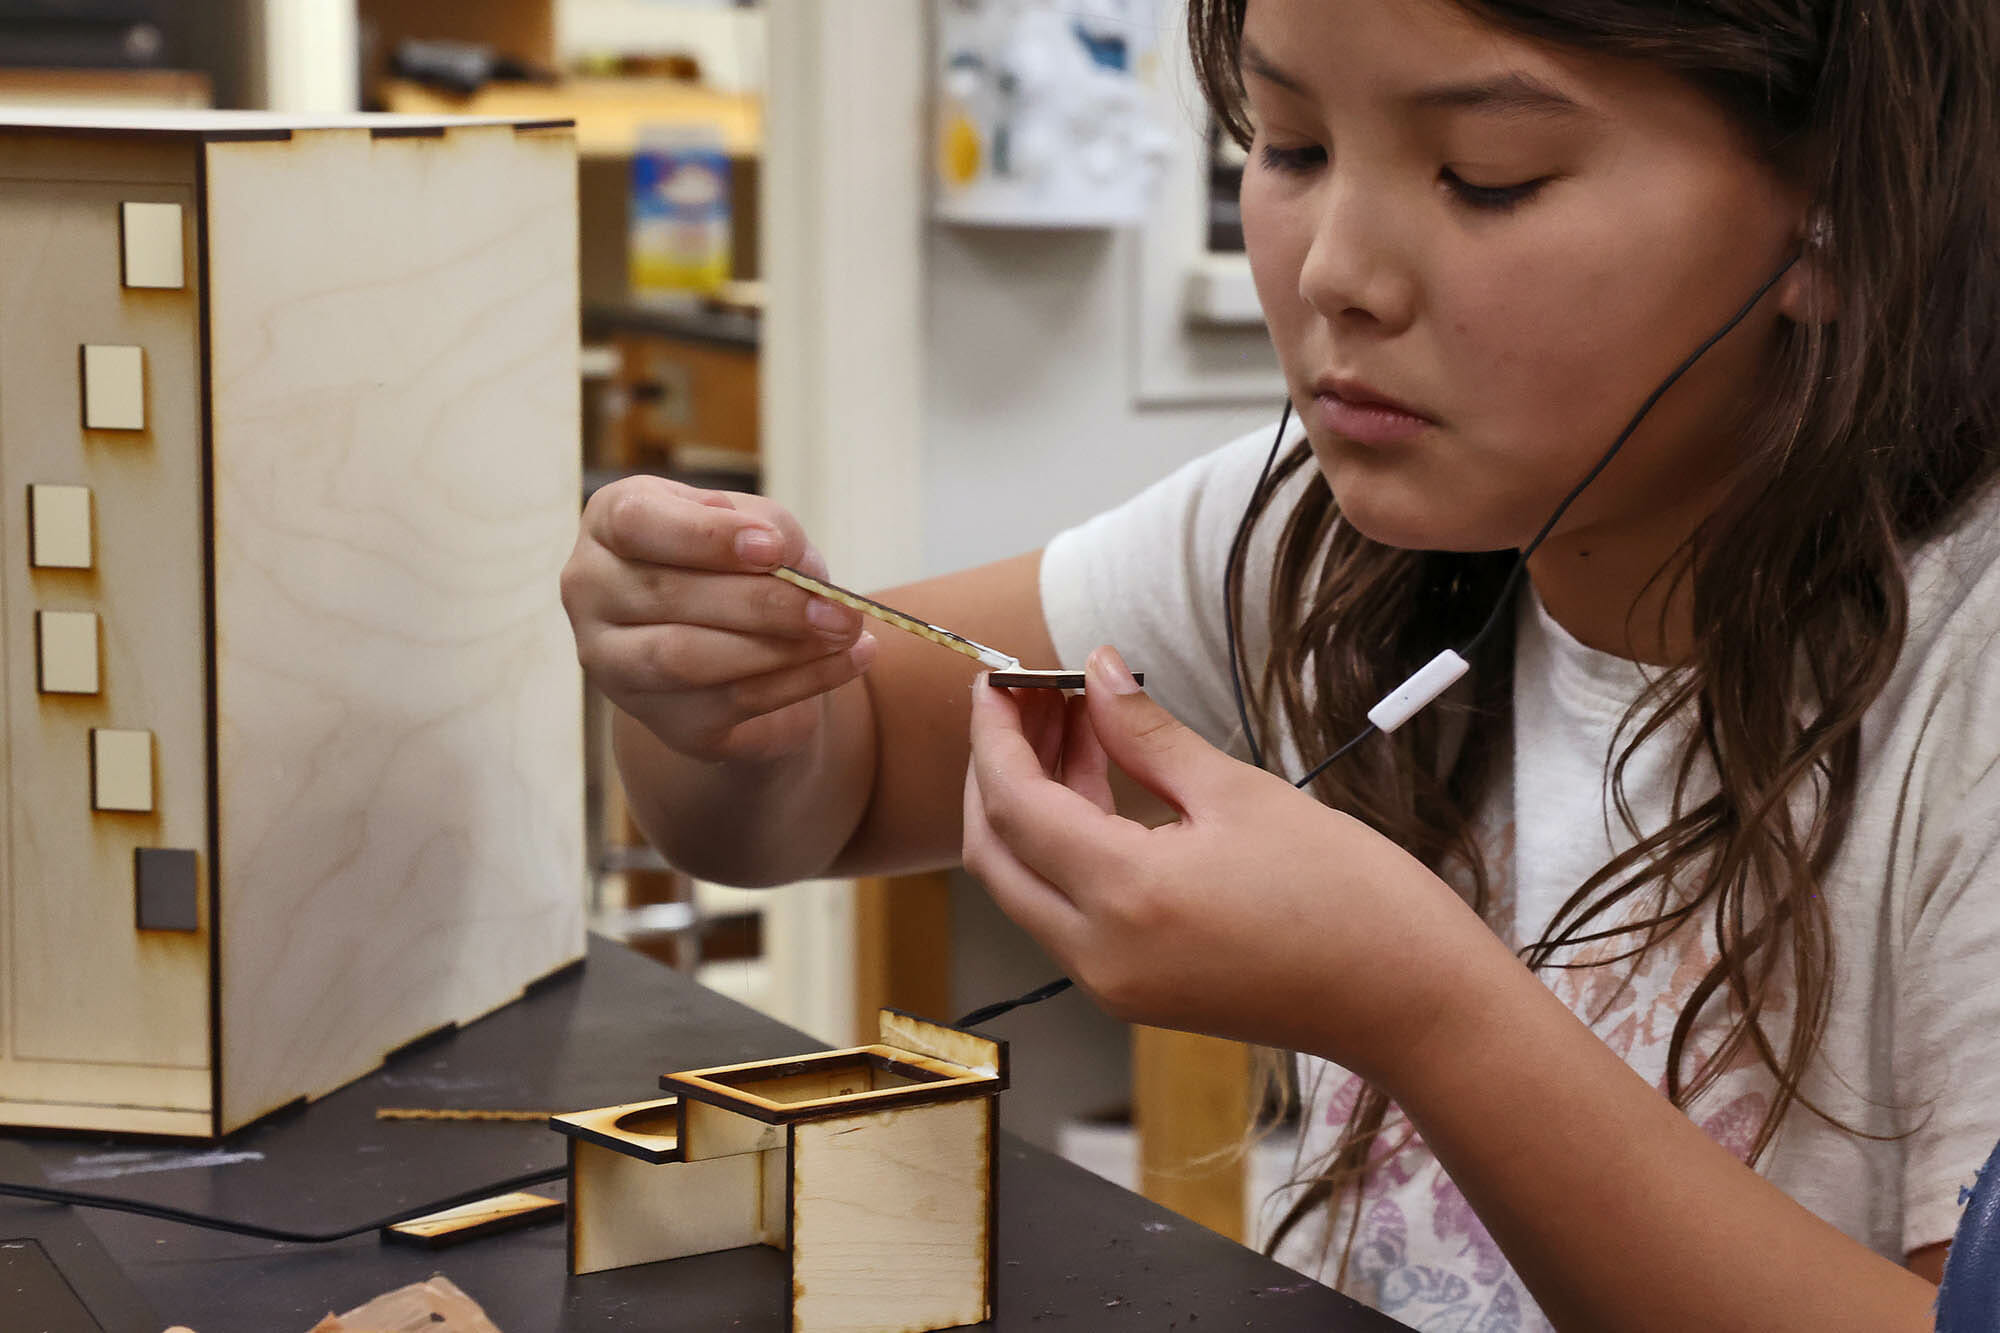
In this phase, the students got to see all their hard work and calculations come to life. Thanks to help from Mr. Lawrence in the Middle School Makerspace, students fabricated, assembled, and painted their lofts, furniture, and accessories. They included as much detail as possible, including everything they had decided to buy. Students showed off their creativity in addition to their math skills.
Well done, mathematicians, architects, and designers!
